Getting the midtone contrast right is one of the essential tasks if you process your images. We just presented a new script "DOP Luminance Color Tuning" and it may seems that this was a specific tool for working with HDR images. Actually we started developing the technique for improving the midtone contrast of our images. This tutorial shows how we tune the midtone contrast in a more flexible ways.
You need the demo or full version of the "DOP Luminance Color Tuning" script
and a companion script "DOP LC TuningMasked" that you can download here (is now also part of the normal delivery of the DOP Luminosity Color Tuning script).
For Demo
For full version
Best we explain the process in a sample workflow.
Sample Midtone Contrast Workflow
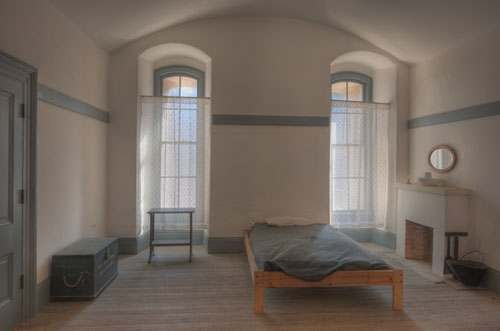
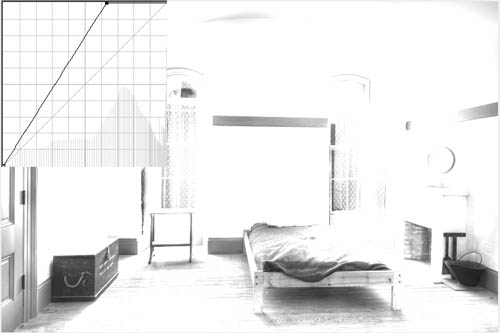
Start Image
Contrast is hard to get right. Actually there is no 'right" because you decide how the image should look. Also prints on matte paper can take more contrast because the printing process softens the look anyway.
We start with a simple (yet strong) S-Curve Adjustment Layer:
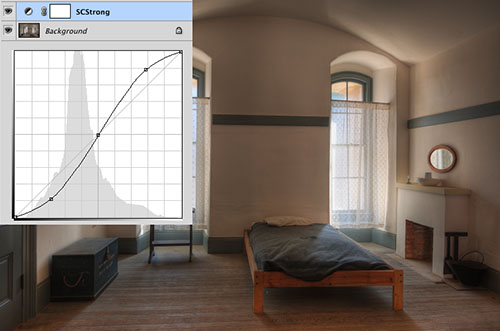
Strong S-Curve Adjustment Layer
Normally such a strong S-Curve would be rarely used. We will tune the result later in many ways so don't worry.
You can also see the usual side effect of S-Curves as they tend to clip highlights and block shadows.
We select the Curves layer, give it a short name and run the companion (you need to have the main script installed too) script "DOP LC TuningMasked". This is essentially the same script as documented here. Additionally it adds a midtone mask to restrict the effect only to the midtones. This avoids highlight clipping and blocked shadows.
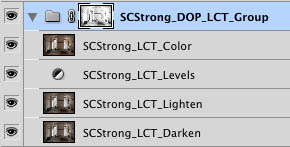
Layer Group created by the script
Again (as described here) we tune the result changing the opacity of the different layers (tuning Color, Darken and Lighten effects) and may also make use of the Levels layer.
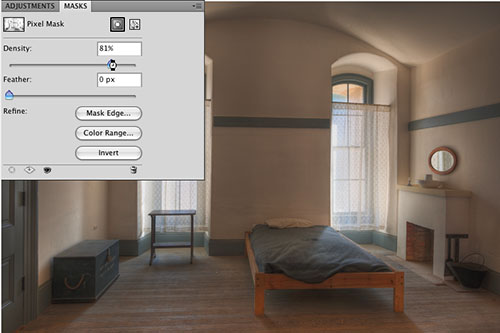
Extra Option: Changing the mask density
Because we use a mask we also can change the mask density. The lower the density of the mask the less the highlights and shadows are protected and the effect will show stronger.
Photoshop CS4 has a new way to change the mask density (non-destructive):
Changing the density of a mask is also not hard in CS3 (but it is destructive). Just select the mask and apply a curve of this kind:
Here is the final result.

Final result
Best you try it yourself using the Demo version. This script also helps if you improve contrast using Nik ColorEfex 3.0 Contrast Pro or other contrast filter plug-ins.
|


