| |
|
| |
Digital Outback Photo Contest #003

Raw Conversion Contest #1 using a Canon
EOS 10D Photo
|
| |
|
| |
|
| |
|
| |
|
| |
|
| |
|
| |
|
| |
|
| |
Sponsored
by 
&  |
| |
|
| |
|
| |
|
| |
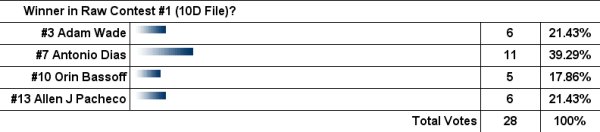
Congratulations to the winners and a thank you to all
participants. We will notify the winners. |
| |
|
| |
1. Prize: Capture One DSLR Pro version (Windows
or Mac)
Antonio Dias
2. Prize: ThumbsPlus by Cerious Software (Windows)
Allen J. Pacheco
Adam Wade |
| |
|
| |
|
| |
|
| |
Some might think we copied this idea. But we believe
we had the first ever raw conversion contests on the internet in late
2000 and early 2001 (the first one was even before we launched Digital
Outback Photo):
These were the early times of raw conversion for the
new generation of digital SLRs. We now have many cameras at the 6 megapixel
(MP) level and even with the Canon 1Ds and the Kodak 14n above 10MP.
We also have now new and improved tools to perform the raw conversion
(Capture One DSLR, Adobe Camera Raw, manufacturer tools and good old
Bibble and Qimage).
To share experience it is not enough just to show the results. We need
precise step-by-step descriptions of all image editing operations that
had been performed. That is why we need to limit the used tools to the
ones that are available at Digital Outback Photo (and they have to be
available for PC or Mac):
- Photoshop (this is the standard image editor we use)
- Capture One DSLR Limited (or full), Adobe Camera Raw (patched),
Canon FVU, BreezeBrowser
- Other tools (if the tool author provides a free full working copy
to Digital Outback Photo)
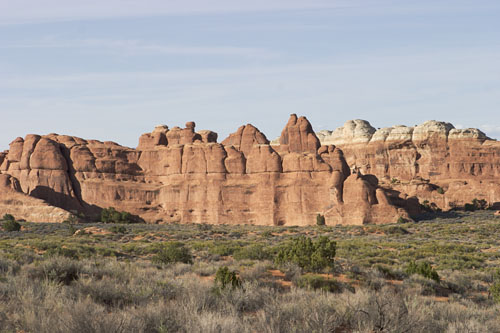
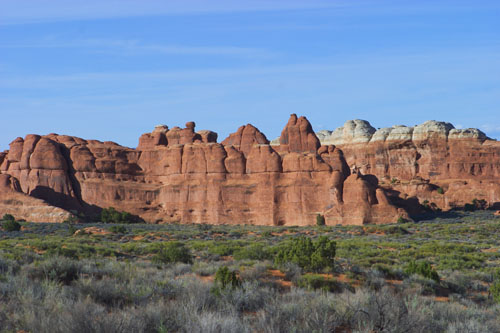
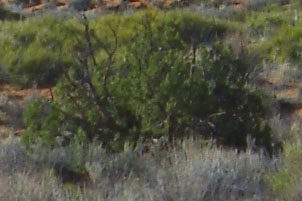
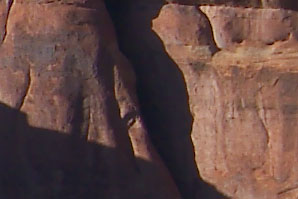
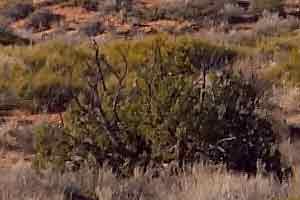
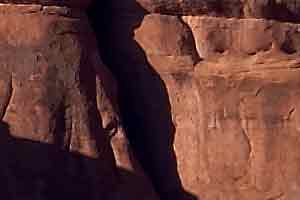
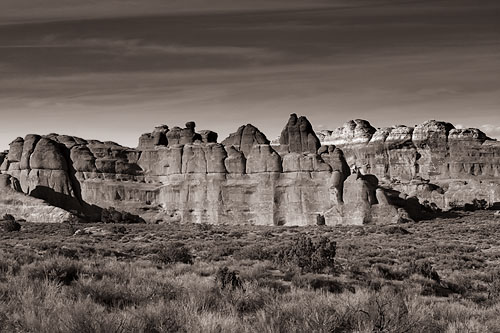
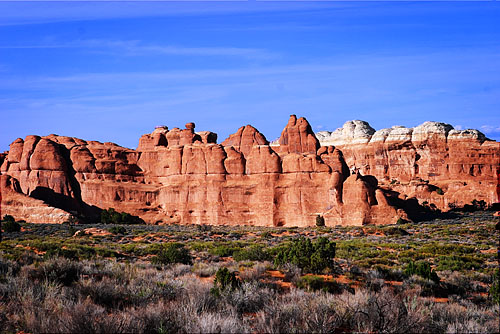
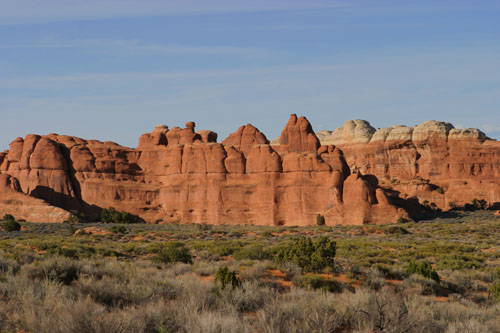
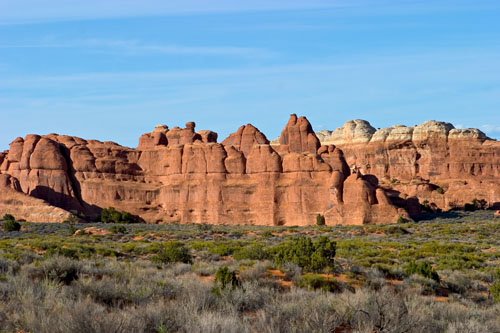
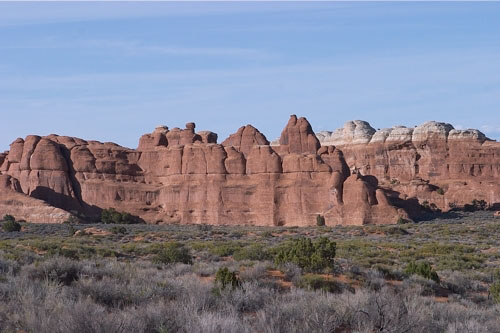
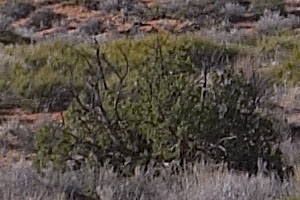
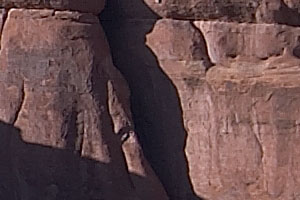
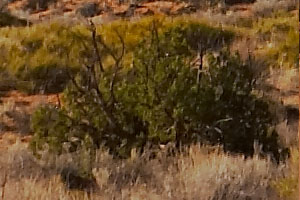
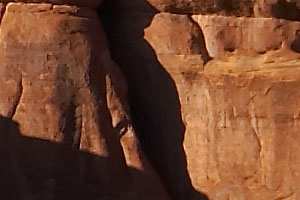
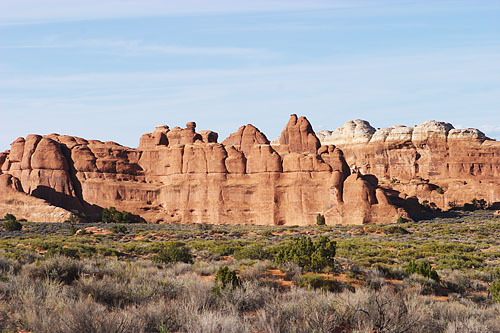
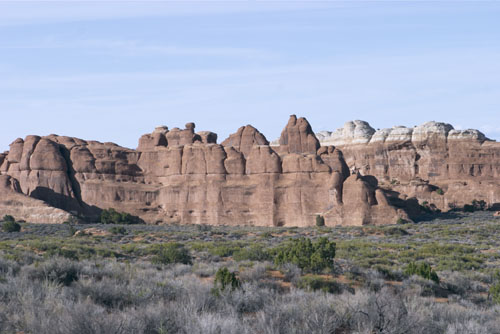
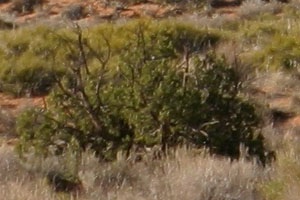
The photo is from our field
trip to the Arches National Park in Utah. Photo taken with
Canon EOS 10D and the 24-79mm f/2.8 lens.
Rules:
- Image should not be cropped
- All preparation should be done for a normal inkjet print and not
for wb presentation
- Do not change the color space
- You load the full raw image (copyright Bettina & Uwe Steinmueller)
from here (6.4MB ZIP)
- You make the best out of it and fully document all steps (try not
to be too complex as this makes our life difficult)
- You then resize the resulting file to 500 pixels wide at JPG 8 compression
in Photoshop
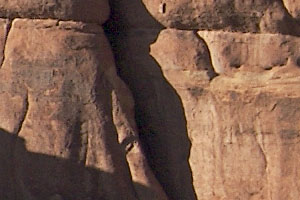
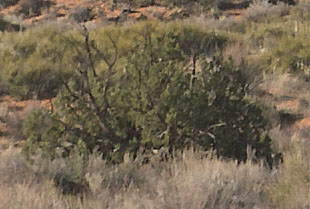
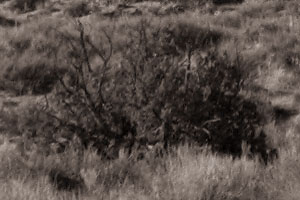
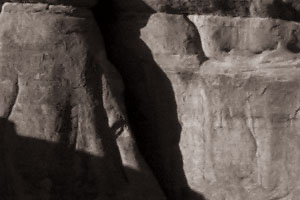
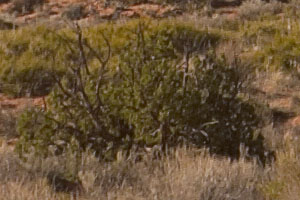
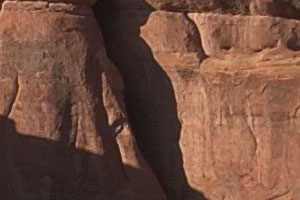
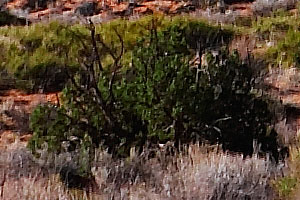
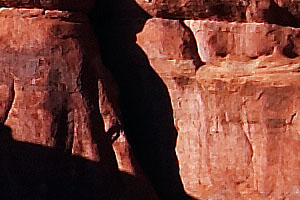
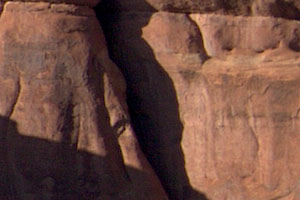
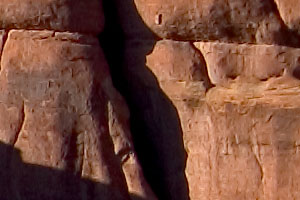
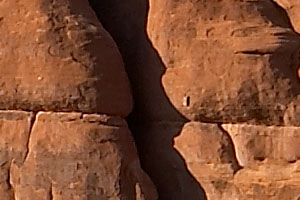
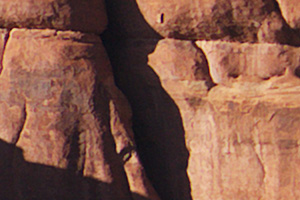
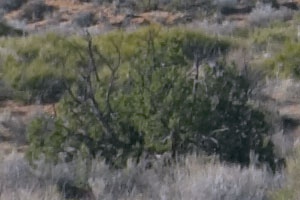
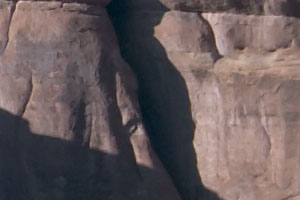
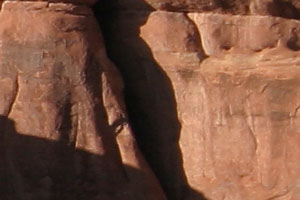
- Also send us 2 crops (300x200) at 100% pixel level as shown below
in the sample entry
- Do not forget to include the full instructions
- We need be able to perform all steps ourselves following your instructions
- We may reject entries without any further notice if they get to
complex, the tools are not at hand or we see major quality issues.
- Send images and instructions to: contest@outbackphoto.com
|
| |
|
| |
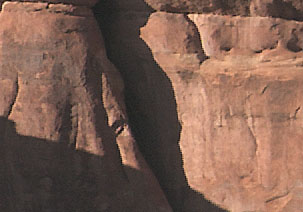
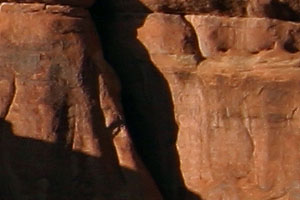
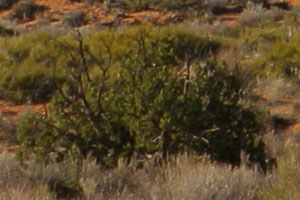
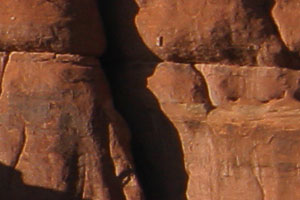
Sample Entry (by Uwe Steinmueller) |
| |
|
| |
|
| |
|
| |
- Converted with Capture One DSLR
- WB on the clouds
- No EV or CC correction
- No Sharpening
- Midtone-Sharpening
in Photoshop
|
| |
|
| |
|
| |
|
| |
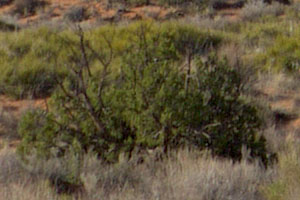
#1 Angel Garcia |
| |
|
| |
-
Converted with Capture One DSLR .
-
Sky select and darkened with levels in Photoshop.
-
Selective color adjust -50 C in reds -30 M in yellows.
-
Slightly vigneted with burn tool.
|
| |
|
| |
|
| |
|
| |
#2 Joo C. Chung |
| |
|
| |
-
Convert with BB - Sat: High, Contrast: Low, Sharpness:
Mid High, all
other as captured.
-
Mid tone sharpening - 500/1/2
-
Convert to 8 bit
-
New layer - fill with black. Add layer mask. linear
gradient mask -
bottom black to top white.
-
Set layer to Soft light blend mode and 19% opacity
-
New Layer - Selective color - Blue (+66 cyan, +0
magenta, -69 yellow,
+100 black, relative method)
|
| |
|
| |
|
| |
|
| |
#3 Adam Wade |
| |
|
| |
|
| |
|
| |
|
| |
|
| |
#4 Thomas Knoll |
| |
|
| |
-
Adobe Camera Raw plugin, version "something
greater than 1.0".
-
Unsharp Mask in Photoshop, very large radius and
small amount
(radius 40.0, amount approximately 10%)
-
Unsharp Mask in Photoshop, small radius and large
amount (radius
0.5, amount approximately 150%)
Thomas did not follow the rules 100% :-)
FYI: Thomas is the original author of Photoshop and
Camera Raw |
| |
|
| |
|
| |
|
| |
#5 Michael Jonsson |
| |
|
| |
-
Capture One DSLR 1.2 RC1 "Something that almost
ships"
-
Exposure: +0.3 EV
-
Contrast: 0
-
WB 5200 kelvin - Color cast 221/18
-
Sharpening: Standard 115/1
-
Everything done in C1, including scaling and cropping
-
I have never actually been to Utah... ;-)
Note: Michael is the author of Capture One DSLR |
| |
|
| |
|
| |
|
| |
#6 Don Lashier |
| |
|
| |
|
| |
|
| |
|
| |
|
| |
#7 Antonio Dias |
| |
|
| |
|
| |
|
| |
|
| |
|
| |
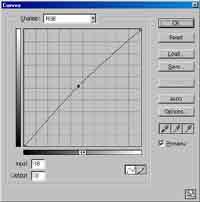
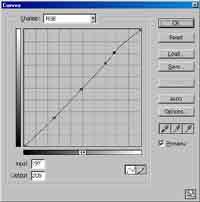
#8 Magne Nilsen |
| |
|
| |
-
Linear 16-bit conversion with PowerShowel
II, Daylight WB (The only 16-bit 10D Linear conversion that
works, so far...)
-
Assign "ETC-0 Linear" profile
-
USM 500/0,4/0 in Linear before converting to Working
space
-
Convert to Working Space
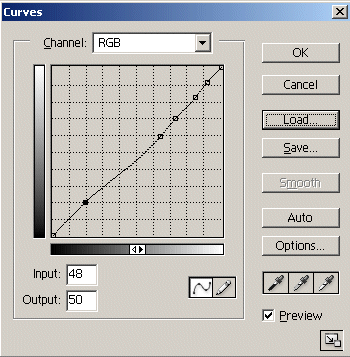
-
Curves, White Point clipped at 212
-
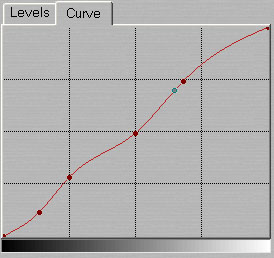
S-curve for contrast:[0,0 / 76,52 / 180,204 / 255,255]
|
| |
|
| |
|
| |
|
| |
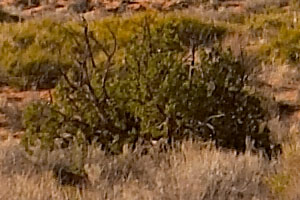
#9 Eric Wolf |
| |
|
| |
- Adjustments made in Capture One DSLR LE 1.2 running on Win2K
- Grey Balance -> Color Temp = 4700
- Grey Balance -> Color Cast = Hue 156 (green/cyan) Saturation
4
- Exposure -> Exposure Compensation = +0.15
- Exposure -> RGB Levels = max set to 248
- Exposure -> Red Channel = min set to 10 and max set to 246
- Exposure -> GReen Channel = max set to 246
- Exposure -> Blue Channel = max set to 231 (forces some of
the blue
channel in the sky to 100% saturation)
- Exposure -> slight 3% boost to the light end of curve, but
mid and
lower end tacked to the midline
- Focus -> Sharpening -> Method = Soft Look
- Focus -> sharpening -> Amount = 64 (there is not a lot
of room to
sharpen the hilights on the sagebrush stems without generating
an artificial
appearance when viewed 1:1)
- Focus -> Sharpening -> threshold = 2
|
| |
|
| |
|
| |
|
| |
#10 Orin Bassoff |
| |
|
| |
|
| |
|
| |
|
| |
|
| |
#11 Steve Schlaeger |
| |
|
| |
|
| |
|
| |
- Open file Photoshop Camera Raw(patched for 10D):
- WB as shot
- Exposure +.65
- Shadows 5
- Brightness 50
- Contrast +34
- Saturation 3
- Sharpness 25
- Smoothness 0
- in Photoshop
- 8 bit
- Nik Sharpener 2880 printer best printer small box Anna
- fade luminosity 50%
- Action copy layer
- opacity 50% highpass filter 6 Pixels soft light
|
| |
|
| |
|
| |
|
| |
#12 Roger Salmon |
| |
|
| |
|
| |
|
| |
- Converted with SharpRaw 1.31 using high resolution interpolation
- Sharpened with a custom sharpening network, trained as described
in the system help
- Saved as a 16 bit .psd
- Opened in Photoshop 7
- Sky selected and contrast enhanced
- Shadows lightened with Chromasoftware's Shadow Control
- Mild edge sharpening with Chromasoftware's Sharpen
|
| |
|
| |
|
| |
|
| |
#13 Allen J Pacheco |
| |
|
| |
|
| |
|
| |
- Conversion using Canon FileViewerUtility supplied with 10D.
- All settings "As Shot" except sharpening which I set
to High which is
pretty decent for landscape shots.
- Convert to16-bit tiff.
- Photoshop
- Open image and assign sRGB (I assume the "As Shot"
settings were
sRGB)
- Hue/Saturation : Master.... Saturation +15
- Hue/Saturation : Cyans......Hue +10 | Saturation = +50
(to blue-up the sky)
- Unsharp Mask : Amount 20 | Radius 30 | Threshold 3 (to
clean up haze)
- Convert to 8-bit
- Unsharp Mask : Amount 200| Radius 0.3 | Threshold 0 (
poor man's overall-sharpen)
- Fade Unsharp Mask: Opacity=100% with Mode =Luminosity
(Sharpens only the luminance channel with out changing to Lab
mode)
|
| |
|
| |
|
| |
|
| |
#14 Ike Tamigian |
| |
|
| |
|
| |
|
| |
- Converted in Camera Raw
- Chroma Shadow Control
- 200%/.5/0 USM
|
| |
|
| |
|
| |
|
| |
#15 Cathy Brown |
| |
|
| |
|
| |
|
| |
- Converted in Capture One DSLR LE
- Gray balance: C1 automatic, color temp 6000, saturation +10
- Exposure: EC -.4, cc +12;
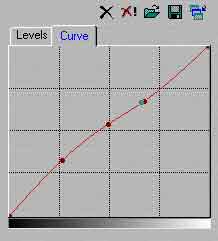
- levels RGB 0/227; red 7/227; green 7/214; blue 0/211;
- slight curve to adjust contrast
- film standard
- sharp: soft at 200, threshold 2
- developed as 16-bit tiff
- In PS 7.1: all in 16 bit
- curves to burn sky and butte saved as burn history state

- curves to dodge foreground and highlights saved as dodge history
state
- used soft round history brush set to 70% opacity (stylus pressure
control) to burn the sky; reduced opacity to 30% to burn butte
- used soft round history brush set to 40% opacity (stylus pressure
control) to dodge foreground foliage; also used lightly on butte
highlights
- applied a slight contrast curve
- saturation +4, blue hue in sky -6
- converted to lab and ran USM on luminosity channel: amount 150/radius
.5/threshold 3;
- restored to RGB
|
| |
|
| |
|
| |
|
| |
Overview over all images |
| |
|
| |
|
| |
|
| |
|
| |
After the contest was over we found in the Canon news
group at Fred Miranda's site a very nice interpretation and that is why
we add this special entry (not part of the official contest) |
| |
|
| |
Special Entry by David Kieltyka |
| |
|
| |
|
| |
|
| |
1) Use Adobe Camera RAW to convert the RAW file to 16-bit
desaturated
RGB.
-- Temperature: 2100
-- Tint: -40
-- Exposure: +1.50
-- Shadows: 5
-- Brightness: 20
-- Contrast: +40
-- Saturation: -100
-- Sharpness: 0
-- Smoothness: 0
-- Moiré Filter: unchecked
2) Levels adjustment: 18--0.90--250. (This and the second levels adjustment
below are approximate since I didn't record the settings I used.)
3) Convert to 8-bit format.
4) Create a duplicate layer and set the mode to "multiply".
5) Use the gradient tool on the new layer (linear, "normal"
mode), foreground color set to pure white, to preserve only the sky
detail.
6) Duplicate this new layer twice. This gives you four layers total.
7) Leave the opacity of the first two duplicate layers at 100%. Set
the opacity of the third duplicate to around 80% (I forget the exact
setting I used). This has the effect of burning in the sky.
8) Flatten image.
9) Convert to grayscale, then to Duotone. Use the WarmGreyQuad.ado
file to one the photo.
10) Convert back to RGB, 16-bit mode.
11) Levels adjustment: 5--0.85--235.
12) Use Fred Miranda's Intellisharpen Pro, v2.2 action at Intensity
5 to do unsharp masking. This also converts the file back to 8-bit mode.
Fred's action performs light overall unsharp masking while sharpening
edges more intensely.
13) Save and done. |
| |
|
| |
|
| |
|
| |
|
| |
|
| |
|
| |
|
| |
|
| |
|
| |
|