Note on image processing: While on the road we only inspect our photos/Videos briefly as we wait for detailed editing till we get home. This means that all the pictures/videos posted are some first versions that we would like to share. We still hope you can enjoy them.
We posted a first portfolio of still images at SmugMug. There are quite a few more images to work on and also some images need to be tuned. Overall we are quite pleased with the outcome.
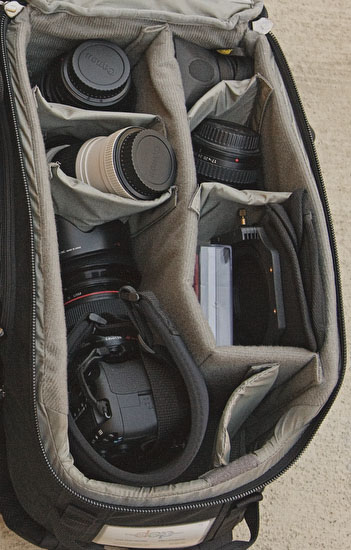
Cameras: Panasonic GH1 and Canon 7D
Filters: Sing-Ray Vari ND and Lee Graduated Neutral ND 0.6
All shots from tripod: Miller Solo DS-10
Captured at 1080p 24p
Time Lapse in last clip was shot with 7D in M-JPEG shooting every 5 secs
Lenses: 14-140mm on GH1 and mainly 24-105mm on 7D
Editing
Transcoded to 1080p Pro Res LT (for the GH1 using Neoscene and Quicktime)
Time Lapse assembled in Quicktime Pro
Editing: Final Cut Pro 7
Color Corrections in FCP
Music: Royalty free stock music that comes with Final Cut Studio
Exported at 720p for the Internet
Here is our take on using the GH1 and 7D/5D2
We use the GH1 in brighter light because it is good and easier to use:
- EVF
- Swivel LCD
- Live Histogram (just adjust the exposure via the Vari ND and keep f-stop/shutter speed constant)
- The 7D/5D2 LCDs are hard to read in bright light and these cameras don't have any exposure aids
The 7D/5D2 is our choice in low light
- Here I control the light via ISO/Aperture and no ND needed
11/11/2009 Printing and Print Review
Print Preparation
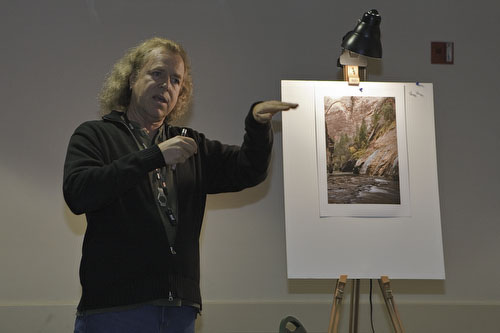
Mac Holbert, Alain Briot and Uwe Steinmueller all helped the students to get their photos prepared for printing and the final print review. It turned out that Mac was an exceptional help in one-to-one coaching. Mac printed for many world class photographers in the last 20 years as co-founder of Nash Editions. Having the experience is one thing but the students also experienced that Mac loves to teach and share experience. Mac, thank you so much.
Mac Holbert (Photo Andreas Waldeck)
Printing
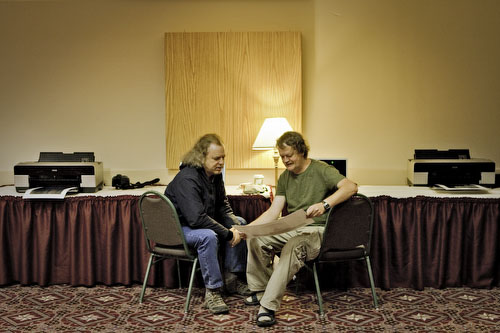
Epson USA sponsored the Summit by providing two Epson 3880 17" printers for the summit. We owe Epson a big thank you here.
Andreas Waldeck (our German friend), Mac Holbert and Uwe Steinmueller printed directly from Lightroom on Epson Luster paper. The Luster paper is a good way to proof your prints and at the summit there is not real time to go beyond a solid proof print. The printers performed perfectly and we got very solid quality prints. Always at the end printing gets stressful. Andreas managed to get the prints done. Andreas, thank you very much.
Mac & Uwe discussing prints with two Epson 3880 (Photo Andreas Waldeck)
Print Review
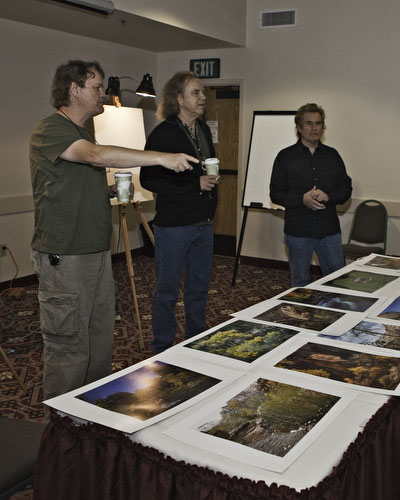
The Print Review is always the highlight of the Summit and this year was no exception.
Mac, Alain and Uwe preparing the Print Review (Photo Andreas Waldeck)
Once again the variety and quality of the photos was very good. All students demonstrated their passion in photography with their own personal vision. Again the students helped each other and made friends. We as instructors always learn a lot from our students.
Thanks to all who joined the Summit 2009.
Blurb Book
Now the third year in a row we will have a Blurb Book about the Summit. We have a volunteer who will do all the hard work. Also thanks to him.
11/6/2009 First Impressions
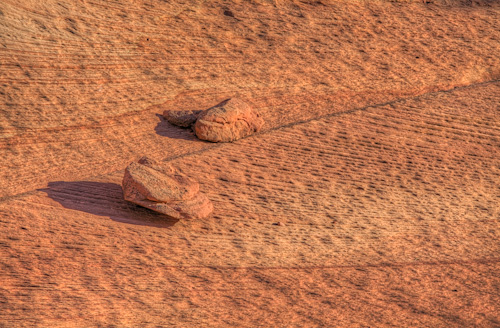
We had the chance to take some pictures (and video) before the Summit starts. The Fall colors are very nice this year.
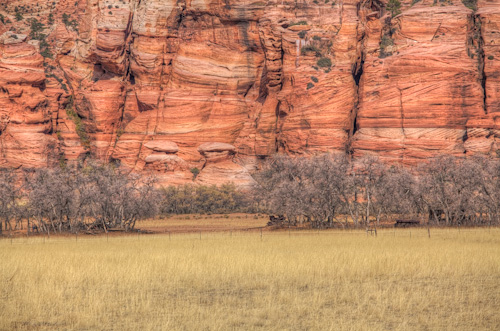
Kolob Section
Zion Plateau
Grafton
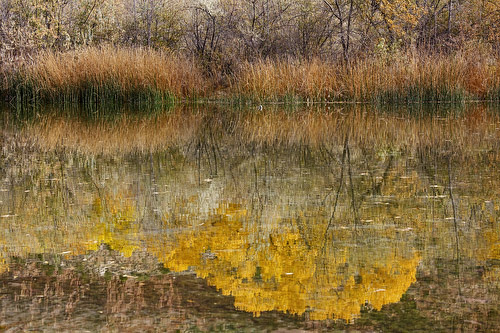
Reflections
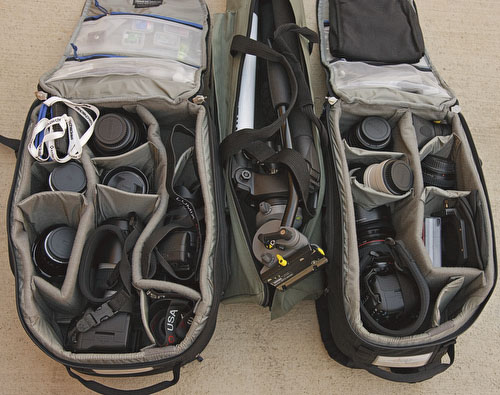
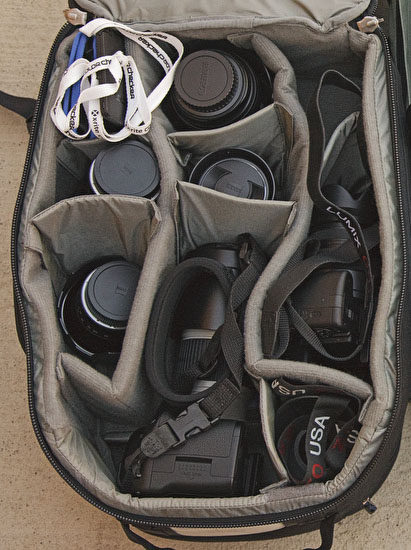
10/26/2009 Our Photo/Video Gear for the Summit 2009
This is now our 7th summit (2x Phoenix, 2x Page, 2x Zion and 1x Bryce). These events were always wonderful. Mainly because of the great audience we had. All the people share a common passion for photography.
Join us on our trip. We try to publish multiple times during our trip.
Note: Of course there maybe some last minute changes which we may or may not feature in this diary.
Photo/Video Gear for Zion
This is the first time that we also plan to create videos at our summit. This is the result of the convergence of still and video (the early beginnings that is).
Note: We will mention with our gear whether these are review loaners. All other gear belongs to us.
Note: This is gear for 2 people (Bettina and me)
Tripods
This change in perspective is mostly shown in the tripod and head used. While you can use sturdy photo tripods for video you cannot use your beloved ball heads. Why? You need to be able to perform "smooth" pans and tilts with your head. Sounds easy but it is not. Actually "smooth" is the term to remember if you make movements in video. Fortunately you can shoot still photos from a video head.
We carry a Miller Solo DS-10 tripod and head (this is a loaner from Miller and we plan a review after the summit. As of this point we may buy this tripod for our work)
We also carry a second light weight tripod for our Panasonic GH-1
15" Mac Book Pro (4GB memory, 320 GB Disk + 2x backup disks for the Mac)
Software
Lightroom 2.5 (Lightroom 3 Beta only for possible demonstarations)
Photoshop CS4 and ACR 5.5
Dreamweaver CS3 (for publishing)
Photomatix 3.2
Nik Software Viveza 2 (beta version)
Apple Final Cut Pro 7 for video (working with video on a laptop is limited and we carry an extra Firewire disk for more space and scratch disk)
Of course all our DOP tools
Note on Backup on the road
With our equipment we listed two USB drives. Both contain full copies of our pictures/videos from the trip and they are with us all the time. This way we won't even lose images in case the notebook Mac would be robbed from the hotel/condo. We are also not depending on the remaining capacity on the Mac Book Pro (right now about 70GB). We never needed these backup images on our past trips. But better we do this little extra work and are safe. You never know when you may need it. Read our series about backup.