Our basic image processing evolves and changes over time. This article documents our main processing steps. By its nature it will change over time and be updated.
We document this process to ensure that our readers know how we get certain results with our camera test images. We plan to notify our readers if we make major changes to this process (tools and techniques).
Last updated: 1/14/2009
Sample Image
For this sample we used an image shot with the Canon EOS 5D Mark II and Canon 100mm Macro at ISO 100.
You can download the original RAW file from here (about 26 MB).
Note: Remember that the service we provide is financed
by selling our ebooks and PS
tools. Also direct donations are welcome.
Main Image Organizer: Lightroom 2.x
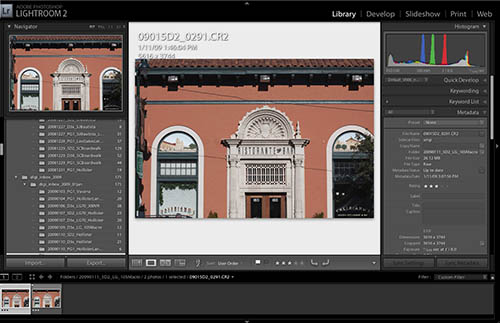
Lightroom 2.x (read our review) is our image organizer backbone. We use Lightroom for the following purposes:
- Image Organizer
- Image Importer
- RAW Image Evaluator
- Keywording amd Smart Collections
- Web Galleries
- Printing
All our images start as RAW files. Here are the main steps in Lightroom:
- Import from CF/SD cards (in some cases Lightroom may not support very new cameras and we have to import manually)
- First evaluation of RAW files for:
- Subject
- Framing
- Sharpness (in focus, no motion blur, ..)
- Exposure (clipping, no severe underexpsosure, possible noise, ..)
- Can highlights be safely recovered?
If we want to further process an image we drag&drop the RAW file from Lightroom onto the RAW converter's dock icon.
Main RAW Processor: RAW Developer
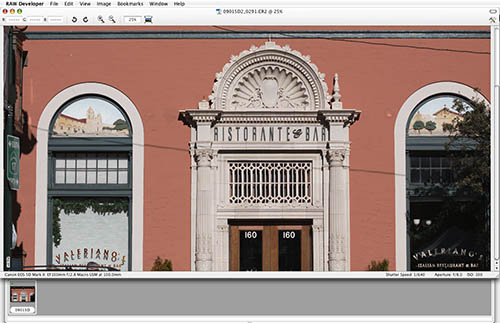
RAW Developer is for now our main RAW converter (read our review). We only perform some essential and basic corrections in the raw converter and then do the final tuning in Photoshop. We have yet to find an image that would not need some final touches in Photoshop.
Here are the main steps we perform in RAW Developer:
- Correct White Blance (WB)
- Check and correct clipping (using EV and highlight recovery)
- Tune shadows (using "Shadow Fine Tune" and "Curves")
- Tune some initial saturation
- Check for image artifacts
- Use some standard image sharpening (may vary per camera)
Our final tuning is always in Photoshop (currently CS4). We have RAW Developer's Batch Processing setup that it processes the RAW file and opens the processed image into Photoshop.
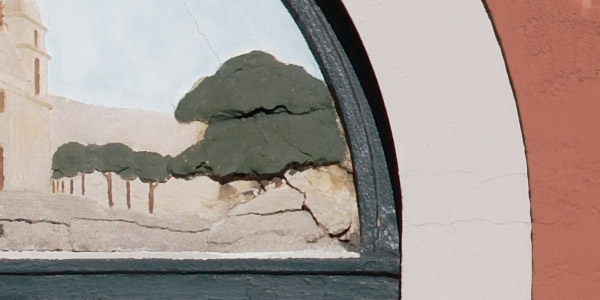
100% pixel crop after processing in RAW Developer
Further Standard Tuning: Photoshop CS3/CS4
Correcting lens artifacts (optional)
Some images need CA and lens distortion corrections. We use now mainly the Photoshop "Lens Correction" tool.
Detail Extraction: EasyD Plus Detail Resolver
We use always our own tool EasyD Plus Detail Resolver for getting more fine detail contrast.
We use very low settings by default:
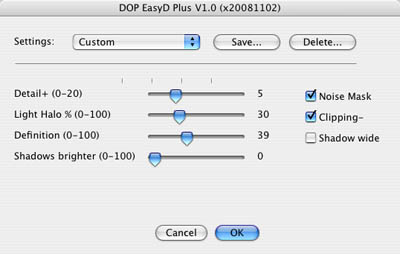
EasyD Plus settings

after using EasyD Plus
Fine sharpening: EasyS Plus
After using EasyD Plus there is only minor sharpening needed. We use a low level of EasyS Plus sharpening to improve fine micro detail.
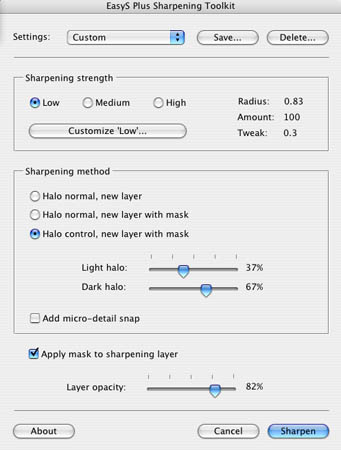
EasyS Plus settings

after EasyS Plus
Tuning Highlights: Highlight Resolver (optional)
Some images need finetuning of aggressive highlights. We use here our own Highlight Resolver. This image may need no or minor treatment.

The final result
Further Fine Tuning in Photoshop (optional)
Converting to B&W (optional)
We use for this either Nik Silver Efex Pro or some own techniques (work in progress).
|